
Whether you've had your Deck for an hour or a year, don't miss out on these game-changing Steam Deck tips and tricks.
If you just got your hands on a Steam Deck, congrats on upping your gaming experience! I hope you find the same gaming joy that the Deck has brought me!
But the Deck isn’t really like other PCs… and it’s not really like other consoles either. It sits in this distinct middle ground where it doesn’t neatly fit into either category. So that’s where this video comes in. I want to make sure everyone who uses the Steam Deck can take full advantage of the hardware and software.
So this article aims to be exactly that. Here are 8 things you can do with your brand new Steam Deck… and even if you’ve had your Deck for a while, you might discover a thing or two here, as well.
Discover your backlog
This might seem obvious, but you’ll want to download your games to your new Steam Deck. And you probably have a few games in mind that you’ll want to give a spin. But keep in mind that – at least for me – Steam Deck is not only suited for your favorite games. In fact, it’s an ideal opportunity for finding your way through that extensive backlog of unplayed titles that taunt you at every turn.
To find a list of your unplayed games, go to the “All Games” tab in your Library, then press “Y” and choose the “Hours Played” option. Scroll down to the “Unplayed” header. If you have a lot of games, just hold down until you see the word “Unplayed” flash on the screen.
Install to your heart's content! Depending on your internet connection, and the number and size of games you’re downloading this can take a long time to complete. At the moment, the Deck doesn’t have a screen-off download function. So your best bet is to plug in your Steam Deck and it will download the games and then shut off when it’s done downloading.
Upgrade storage
If you have a ton of AAA games, you might run out of internal storage. That’s why Valve included an external upgrade solution: a micro SD card slot. Anyone can take advantage of this feature. Just purchase yourself an SD card, insert it, format it, and you’re good to go!
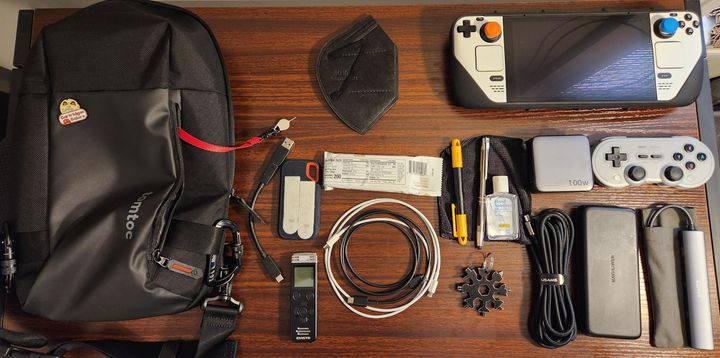
Which SD card you get is up to you. Personally, I’m using two different cards. I have one loaded with a bunch of Steam games, the other with ROMs. I have this SanDisk A2 card that I’ve recommended here on the channel before. The other is this Rocket SD card from Sabrent. They sent me this card and I’ve had nothing but good things to say about it.
Installing games onto your SD card is a simple process: insert your SD card and format it if it hasn’t been already. From here, you can just start the download process from your Steam Library and you should see this screen to select where you want to install it.
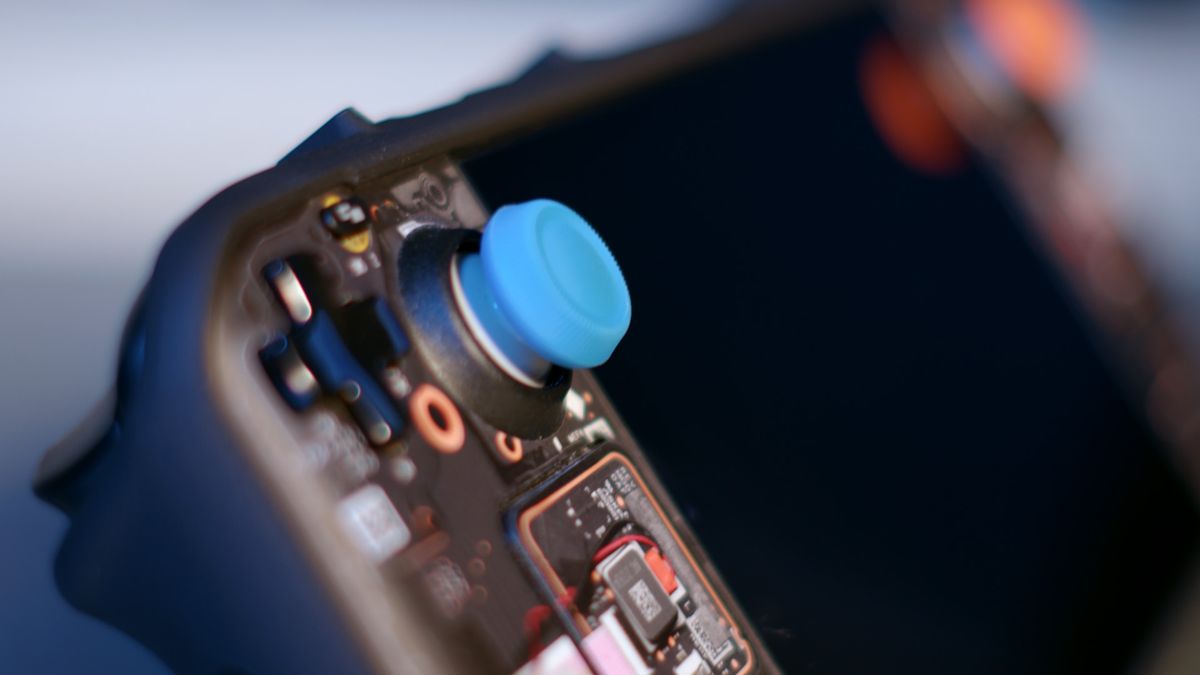
But there’s also another upgrade you can make; the internal storage. Now, I bought the 512 GB Steam Deck model… specifically because I didn’t want to upgrade my internal storage. I was worried about the upgrade process being difficult or accidentally breaking it. But when Sabrent sent me their Rocket 2230 1TB SSD, I decided to give the upgrade process a try and it was really easy! Would I recommend that someone with zero experience disassembling small devices give this a go? Categorically and emphatically “no”.
But as long as you disconnect the battery and ensure the thermal pads don’t move, you should have no trouble upgrading your Deck. You can check out my video here about the whole process.
Explore controller customization
Now, controller customization is a major deal. It’s one of the things that define Steam Deck and the Steam ecosystem in general. While something like the Switch allows you to swap buttons and the like, the Steam Deck gives you absolute control over the inputs here. Mapping touchpads to mouse inputs, enabling gyro aim when you have your thumb on the control stick… there’s so much that can be done here with Steam Input.
You can even explore controller profiles made by the community. I highly recommend taking a look at what’s out there for your favorite games. You can use a community profile as your base and tweak it to your liking, too.
But there are other options, too. You can configure your “desktop” layout, too, by going to Settings -> Controller and then scroll down to Desktop Layout.
But it gets even cooler. In the Controller settings menu, you can swap A and B so it behaves like Nintendo systems. Or you can manage the controller’s calibration.
However, there’s one more thing you should know about: Steam shortcuts. Holding either the STEAM button or the Quick Access button (...) for a moment will display a menu of shortcuts. You don’t have to wait for this menu to appear, though and either button (STEAM or ...) will work.
A few of my favorites are:
- STEAM + joystick up/down to increase or decrease screen brightness,
- STEAM + Ⓧ will also bring up the virtual keyboard with ,
- STEAM + Ⓑ as a long press will force quit the current application
Install non-Steam apps
One of the biggest differentiators of the Steam Deck versus a console is that you can install pretty much any application you could possibly want on it. There are tons of tools that can help you install games from other stores and get the most out of performance.
- Use Heroic to install games from Epic and GOG
- Use Lutris if you’re looking for a way to easily install classic games or other Windows titles
- Use CyroUtilities if you want to get the best performance from your Steam Deck
But the fact is, it’s not just Windows software. There’s a whole suite of Linux software that you can use on Deck. Chrome is an obvious first choice. To enable Chrome, you can go to the Non-Steam games section of your Library and it will prompt you to install Chrome (if this is your first time in the library, anyway).
However, you can boot into Desktop mode by holding down the Power button and choosing “Switch to Desktop.” Then launch the Discovery app center to peruse the available apps. If you want a list of apps available, you can check out flathub.org and take a gander.
A few of my favorite apps are Yuzu, a Nintendo Switch emulator, Flatseal, Discord, and ProtonUp-QT.
Enable file copying
If you’ve been searching for a way to copy files to or from your Steam Deck, you can check out my recent video on the topic. Essentially, you need only install KDE Connect on your PC and then pair it with your Steam Deck. Then you can send files back and forth and a whole lot more. See that video for the full details!
Connect your headphones
While the Steam Deck’s speakers are impressive, sometimes you can’t beat the experience headphones afford. I’ve got these Quiet Comfort headphones from Bose that do the job and then some. Allowing me to become even more immersed in the game I’m playing.
And while these headphones do have a jack that allows me to connect them with the Deck’s headphone jack… I prefer the wireless approach. So to enable bluetooth, go to Settings -> Bluetooth, make sure it’s turned on, and then ensure that your headphones are in pairing mode. From here, scroll down and find your headphones. Now just hit A and your headphones are paired!
Enable 40Hz mode
The Steam Deck has a plethora of tools you can use to get your games running perfectly. Be it built in Fidelity FX Super Resolution, manual clock control, framerate limiting, or other options accessible in the QAM’s performance tab, the Deck delivers a phenomenal degree of control over your device.
But two of the most important features are the display’s refresh rate and the performance overlay level.
While you’re playing on the Deck, you may find that some of the more taxing AAA titles have a volatile framerate that sits comfortably over 40 FPS in most instances. If that’s the case, you have yourself a prime candidate for the Refresh Rate option.
Open the quick access menu, go to the battery icon, select the Advanced View button, and now scroll down to “Refresh Rate”. Press A and then move the range slider town to 40. This will set the screen’s refresh rate to 40 Hz and limit the game’s framerate to 40 FPS. This should significantly help with the feel of the game.
One thing to note is that this will effect all games on your Deck. If you don’t want that, make sure you check the “User per-game profile” switch before changing the refresh rate. Alternatively, if you change any values in this menu and then switch the “Use per-game profile,” the values you set previously will be universal and whatever you change afterwards will only be for the game currently running.
And, as a bonus, 40Hz mode is great for another reason, too: it helps tremendously with battery life.
Upgrade your charging
One of the biggest criticisms of the Deck is its battery life. And while–when you look at it objectively–the Deck has some impressive battery life compared to other PC handhelds and even the Nintendo Switch, subjectively, there’s much to be desired.
That’s why charging is so important. Yes. The Steam Deck comes with a charger that is more than enough to charge while you play. But the Deck’s charging cable is perplexingly short. Only about five and a half feet long.
So that’s why I immediately went out and bought a charger and cable. I got this 60w Anker charger and 10ft 100w cable to go with it. Now, 60w is overkill for charging the Deck, but since it has two ports, I can charge my tablet or phone while also charging my Deck.
I’ve been using this charger/cable combo for over a year at this point and have been super happy with it. There’s a link in the description if you want to pick them up.
Connect to your TV
The Deck provides a consolized PC experience and–as such–fittingly will dock with a television. And now is a great time to do it, seeing as the software has finally given us the ability to set the output resolution within the last few months.
Now, Steam Deck doesn’t have a video out port on its own. Instead, you’ll need a Dock or USB hub with video out in order to connect this to your TV. There are many great solutions for this, too. Ranging from inexpensive to worth the investment.
For example, I’ve had this adapter that I used with my Switch for years. And it worked day one with my Steam Deck.
There are others that offer more features. But few can beat the official Docking Station from Valve. It has what I consider to be a perfect design with all the features you need. Ethernet, type A USB ports, and of course, video out. Not only HDMI but DisplayPort, too.
And while $90 might seem steep, it also comes with an official charger. Meaning you can leave it plugged in and just connect your Deck and you’re good to go!
And while you’re plugged in, you can also…
Connect some controllers
So let’s play some games with your friends. If you haven’t realized it, already, the Deck is ideal for local multiplayer. Ranging from indies to titles from major publishers, local multiplayer is well represented here.
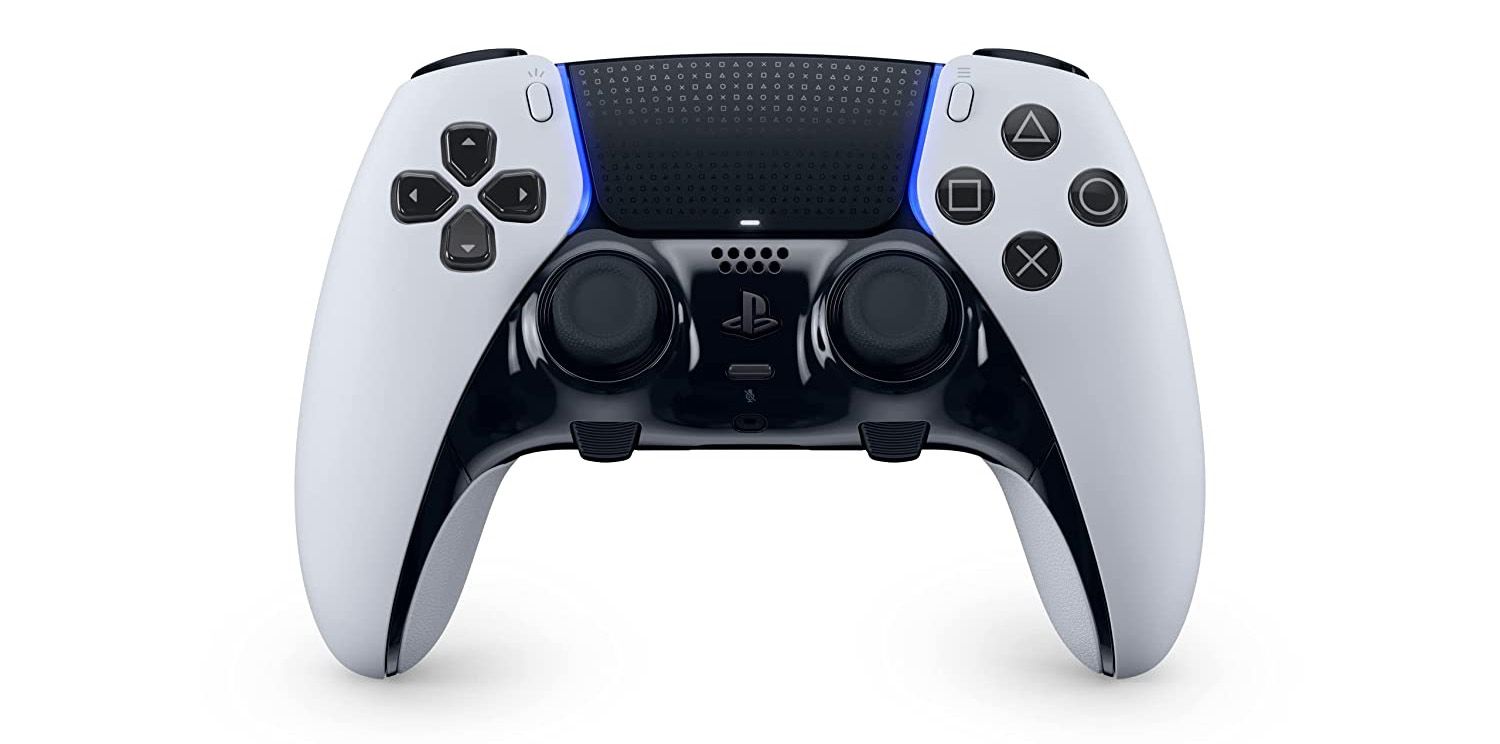
And the Deck has built-in Bluetooth. That means you can use Xbox Series controllers, DualShock 4s, DualSense, Switch Pro Controllers, JoyCons, or even quality third party offerings like 8BitDo’s Pro 2.
To connect controllers, put them in pairing mode and go to Settings -> Bluetooth and then add the controller. From here, you can re-order your controllers in the Quick Access Menu by going to the gear icon and then hitting the “Rearrange controller order” button.
The Deck natively supports all these controllers and each one can be customized using Steam Input–just like we talked about earlier.
As far as which one you should choose? Well, if you’re looking for input parity with the Deck itself, the closest in my book is the DualSense. It has gyros, analog triggers, a single trackpad that can do a lot with Steam Input, and better rumble.
You can use the this link to pick one up!
What do you think? Did I forget something? Leave me a comment and let me know!
If you believe in the work I’m doing, you can buy me a coffee using the links below. Become a YouTube Member, a Patron, or a ViewSink Premium subscriber and get your name over here. And thanks! It’s because of the folks you’re seeing on screen that I’m able to continue making these videos.
That’s going to do it for now. Thanks so much for watching and spending time here with me today. And I’ll catch you next time.

Comments ()